Installation
Once the requirements are satisified, the add-on can be installed and used by following the steps below.
Step-by-step guide
Follow these simple steps to get the mail add-on up and running.
1) API-user
This step is made by the Customer or Lime Consultant
Create an API-user and generate an API-key for the user. The user needs appropriate rights to be able to search for, save and update multiple tables. Add the API-user in the group "Users" and also create a specific group for the user and configure policies for the group on the following tables.
| Read | Write | Add | Delete | |
|---|---|---|---|---|
| Coworker | X | X | ||
| Company | X | X | ||
| Deal | X | X | ||
| Document | X | X | X | |
| History | X | X | X | |
| Person | X | X | X | |
| Todo | X | X | X |
2a) Install Outlook add-in
This step is ONLY made by the Customer
There are two ways of installing the add-in for Outlook:
Each user install the add-in individually
- Click this link to open the add-in xml file and download it by a right mouse click anywhere in the code and select Save as.
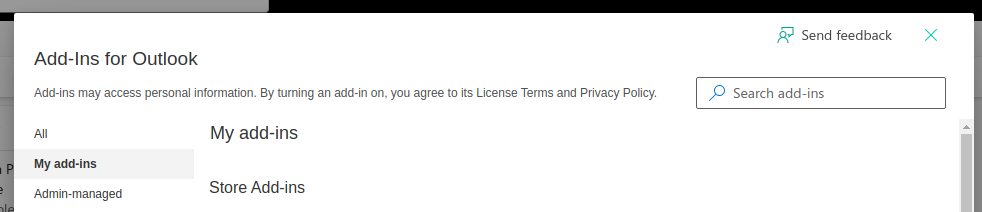
- Open the Add-Ins for Outlook dialog in your Outlook client.
- This depends on your Outlook version, you can try to open the dialog by clicking this link, or you can search for the Get Add-ins action in your Home ribbon.
- This depends on your Outlook version, you can try to open the dialog by clicking this link, or you can search for the Get Add-ins action in your Home ribbon.
- Select My add-ins.
- In the Custom Addins section, select Add a custom add-in, then choose Add from file.
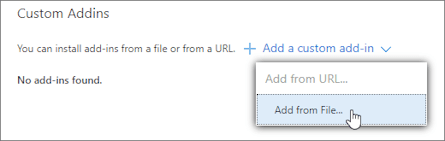
- Select the file you downloaded in step 1.
- Select Open to install the add-in.
A system administrator publish the add-in to all users
- The URL to the manifest file is: https://mail.lime-crm.com/outlook_manifest.xml
- Follow the instructions here for Office 365:
- https://support.office.com/en-us/article/Deploy-Office-add-ins-in-the-Office-365-admin-center-737e8c86-be63-44d7-bf02-492fa7cd9c3f
- Follow the instructions here for Exchange 2013 and Exchange 2016:
- https://docs.microsoft.com/en-us/exchange/add-ins-for-outlook-2013-help
- https://docs.microsoft.com/en-us/exchange/install-or-remove-outlook-add-ins-2013-help
- Follow the instructions here for Exchange Online: https://docs.microsoft.com/en-us/exchange/clients-and-mobile-in-exchange-online/add-ins-for-outlook/add-ins-for-outlook
- If the system administrator is a 3rd party Microsoft partner it can be necessary to follow the instruction on how to add addins using the Integrated apps portal in the Microsoft 365 admin center https://docs.microsoft.com/en-us/microsoft-365/admin/manage/test-and-deploy-microsoft-365-apps?view=o365-worldwide
2b) Install Gmail add-on
This step is ONLY made by the Customer
There are two ways of installing the Gmail add-on:
Each user install the Gmail add-on individually
- Go to the Lime CRM page on G Suite Marketplace: https://gsuite.google.com/marketplace/app/lime_crm/496768028582
- Install the add-on by pressing "Install" and follow the instructions.
A system administrator publish the add-on to all users
- Follow the instructions here: https://support.google.com/a/answer/172482?hl=en
3) Create configuration through admin-page
This step is ONLY made by the Customer
In this step the system administrator (NOTE! A Lime Consultant can assist the customer's administrator in this step) create a configuration for the mail add-ins using the API-key (together with the API-URL) that previously has been created.
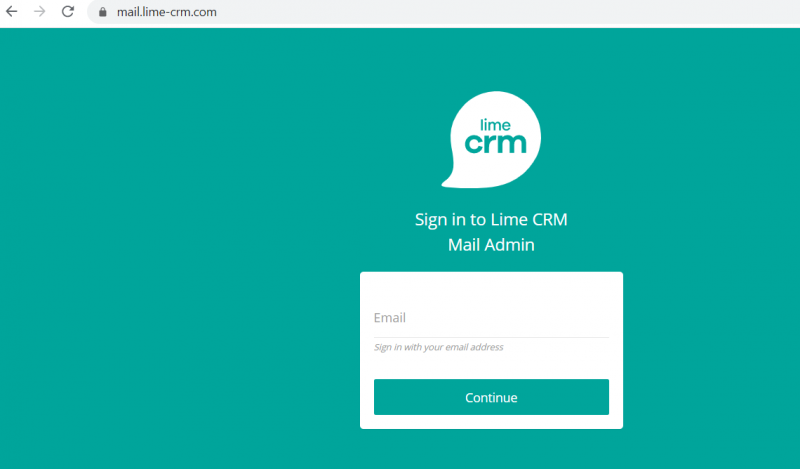
- Go to https://mail.lime-crm.com/ and enter your e-mail address (NOTE! that this should be the administrator/superusers e-mail address).
- Enter the passcode that was automatically sent to the administrator/superusers e-mail address after they entered their email adresses. You dont need to save the passcode. Next time you need to log-in you can receive a new passcode to use.
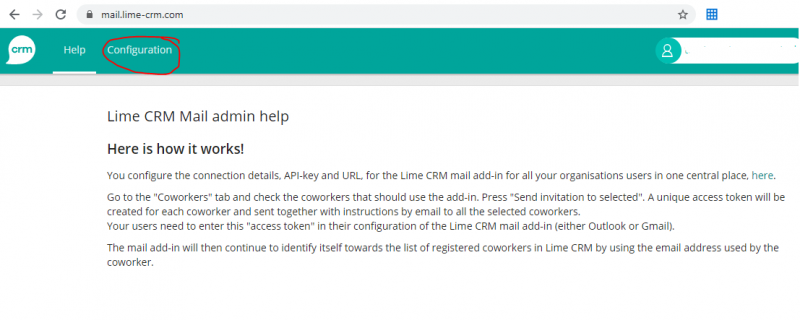
- Go to the "Configuration" tab and press "Create new".
- Enter the API-key and URL to the API (observe that the URL shall not contain '/api/v1/' and must end with a '/', for example https://customer.customerserver.com/application/). If the customer has a space in the display name, the URL must have the space in the /application/. So, if the customer name is "Demo Company": https://democompany.customerserver.com/demo company/
- Save the configuration.
- Validate the configuration by pressing "Validate Config". This will visualise whether the application fulfills all requirements for the database structure.

- Go to the tab "Coworkers". All coworkers are listed and from here you can select the coworkers that are supposed to use the add-on.
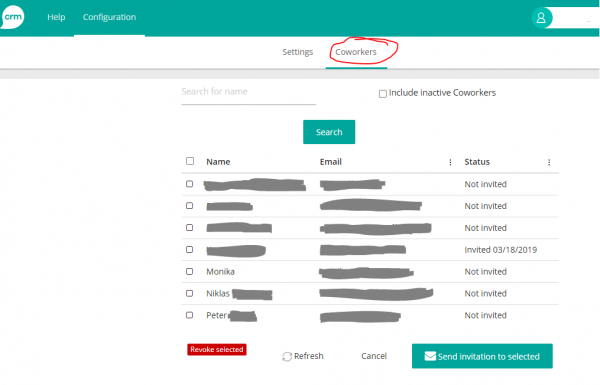
- After the coworkers, that are supposed to use the add-on, have been selected - press "Send invitation to selected". A unique access token is created per user and each user will receive the token together with instructions through e-mail.
4) Enter access token in add-on
This step is ONLY made by the Customer
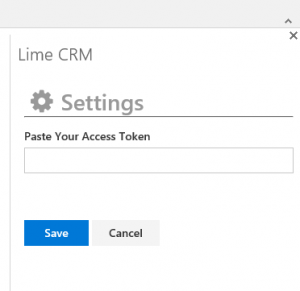
Each user enter the access token through the add-on in Gmail (left picture below) or Outlook (right picture) and save before start using the add-ons.
5) Calendar synchronization
For Office 365 users
This step is ONLY made by the Customer
To use the calendar synchronization feature, each user needs to consent to Lime CRM getting acces to the updates in the users calendar. This is done by clicking the settings button and "Setup sync".
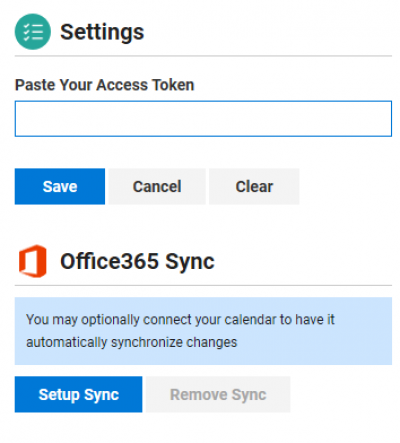
Depending on the security settings for the customers Office set-up, the customer might need to grant admin consent to the Lime CRM mail ad-din. The set-up process is one of the following:
- If the customer does not have any restrictions in place for allowing apps to access users' data then users will be able to just press the "Setup Sync" button.
- If they do have restrictions in place, an Office 365 tenant admin must grant admin consent to the application. Instructions are here: https://docs.microsoft.com/en-us/azure/active-directory/manage-apps/grant-admin-consent#grant-admin-consent-from-the-azure-portal